Running Windows XP on Ubuntu with KVM
Hey there, welcome back to “Adnane’s World”! It’s been ages since I hit you with some wisdom, but guess what? I survived my final exams (next semester is one day away :/ ). Today, we’re jumping into the exciting world of KVM (Kernel-based Virtual Machine) and virtualization.
Let’s do something cool together! I’ll show you how to use KVM to run Windows XP on your Ubuntu. It’s like blending vintage Windows with Ubuntu. Easy and fun! Let’s get started!
Ubuntu Update
To start, launch the terminal and update your local package index as follows.

Check Virtualization Status
Before proceeding, check if virtualization is enabled on your system. Your CPU must support KVM virtualization, which requires an Intel VT-x (vmx) or AMD-V (svm) processor. Run the following command, and if the output is greater than 0, virtualization is enabled. Otherwise, it’s disabled, and you need to enable it.


If virtualization is not enabled, activate it in your system’s BIOS settings. Additionally, check KVM virtualization status with the following command:

For this to work, you need to have the cpu-checker package installed. If not, install it:

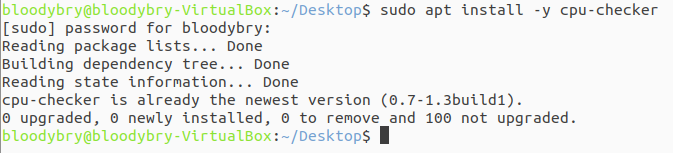
Then run the kvm-ok command. If KVM virtualization is enabled, you should get the following output:

Install KVM on Ubuntu
Next, run the following command to install KVM and additional virtualization packages on Ubuntu, in my case iuse Ubuntu Lite :

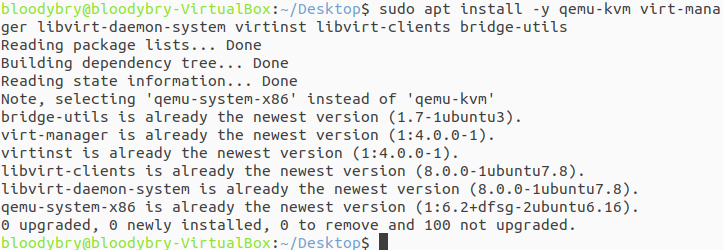
Breakdown of installed packages:
1
2
3
4
5
6
qemu-kvm: Open-source emulator and virtualization package providing hardware emulation.
virt-manager: Qt-based graphical interface for managing virtual machines through the libvirt daemon.
libvirt-daemon-system: Package providing configuration files required to run the libvirt daemon.
Virtinst: Set of command-line utilities for provisioning and modifying virtual machines.
libvirt-clients: A set of client-side libraries and APIs to manage and control virtual machines and hypervisors from the command line.
bridge-utils: Set of tools for creating and managing bridge devices.
Enable Virtualization Daemon (libvirtd)
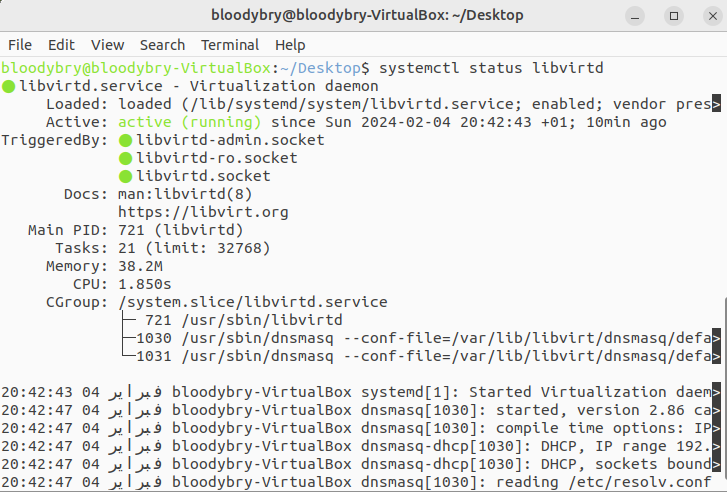
With all packages installed, activate and start the Libvirt daemon.

Check that the virtualization daemon is running:

Additionally, add the currently logged-in user to the kvm and libvirt groups to create and manage virtual machines.

The $USER environment variable points to the currently logged-in user. To apply this change, you need to log out and log back in.
Launch KVM Virtual Machines Manager
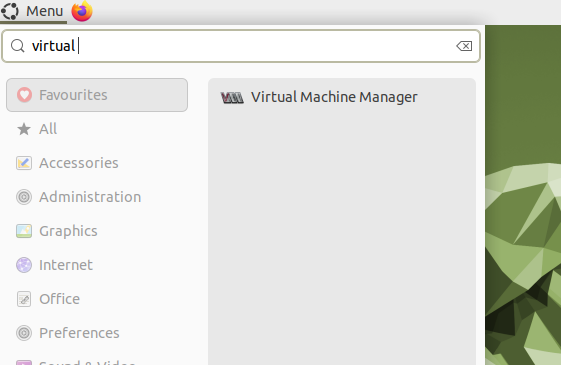
Once KVM is installed, start creating virtual machines using the virt-manager graphical interface. Use the GNOME search utility and look for “Virtual Machine Manager”. Click on the appearing icon to launch the Virtual Machine Manager interface.
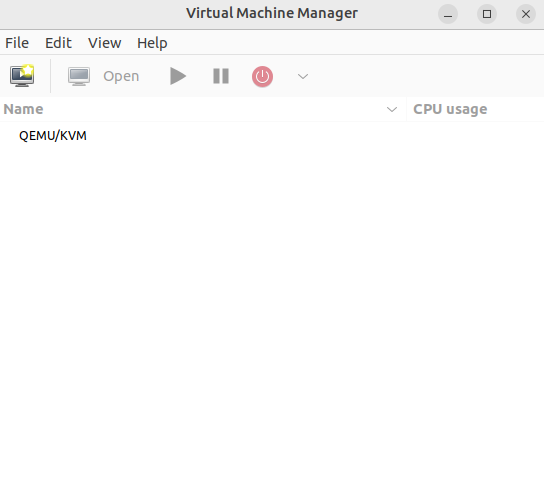
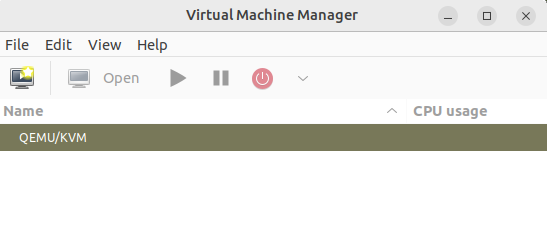
Click on “File” and then select “New Virtual Machine.” Alternatively, use the displayed button
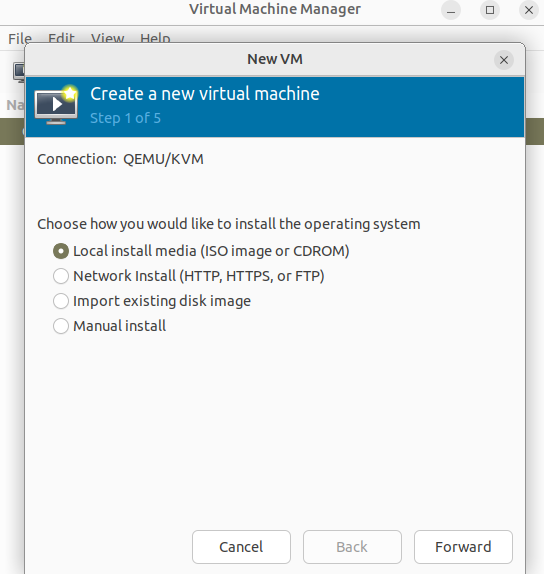
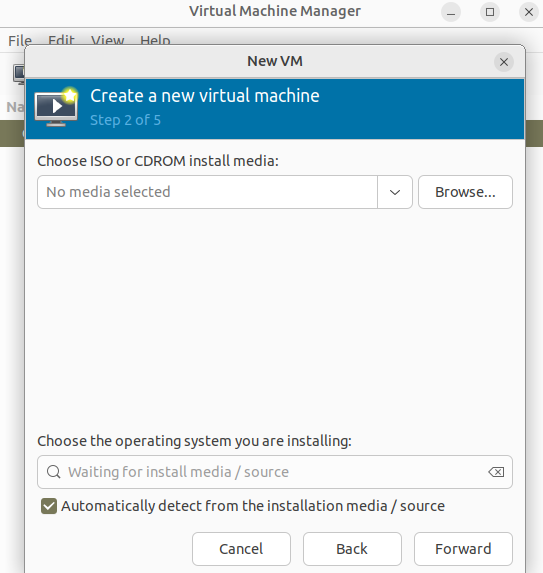
This opens the virtual machine installation wizard, presenting four options: Local installation media (ISO or CDROM image) Network installation (HTTP, HTTPS, and FTP) Import an existing disk image Manual installation In this guide, assuming you have downloaded a Windows XP ISO image ( you can download the ISO file from archive.org ), select the first option and click ‘Forward.’
In the next step, click ‘Browse’ to locate the ISO image.
In the following window, click ‘Local Browse’ to select the ISO image from your Linux PC’s local directories.
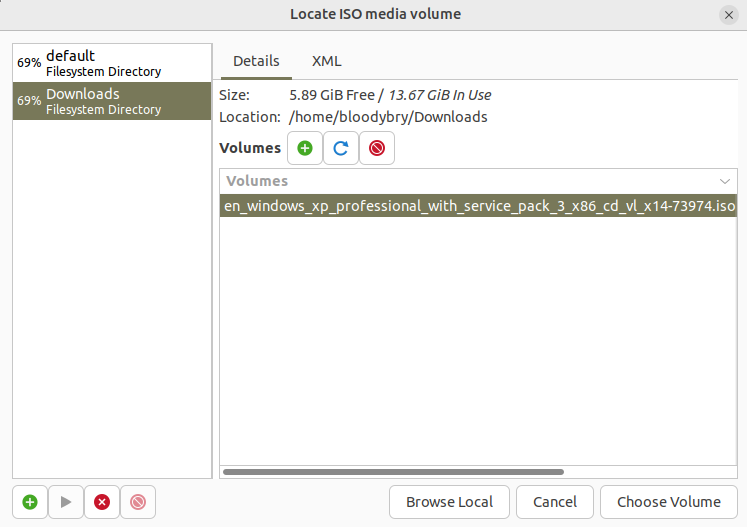
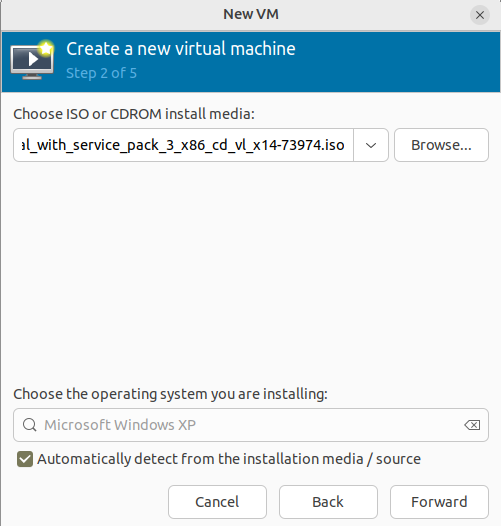
As demonstrated below, we selected the Windows XP ISO image. Then click “Open”. Once the ISO image is selected, click ‘Choose Volume’ to proceed to the next step.
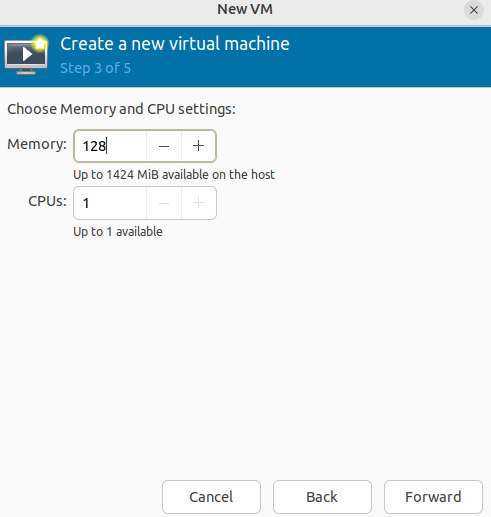
Next, set the RAM and the number of CPU cores for your virtual machine and click “Forward”.
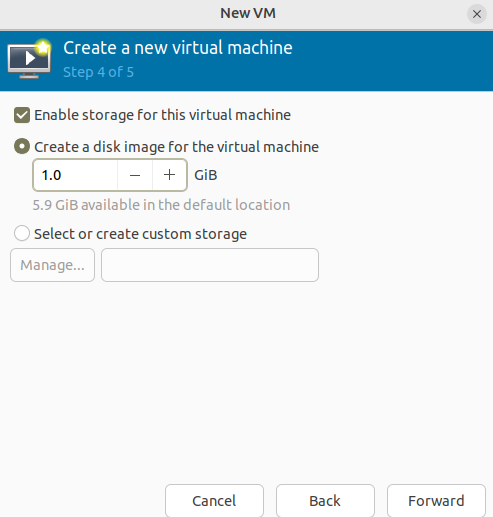
In the following step, set the disk space for your virtual machine and click “Forward”.
Finally, click ‘Forward’ to complete the virtual machine configuration.
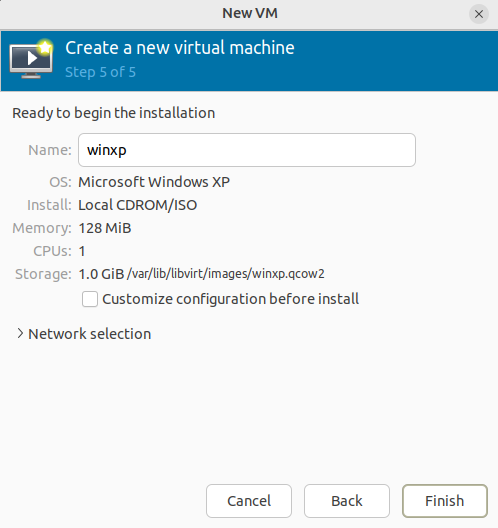
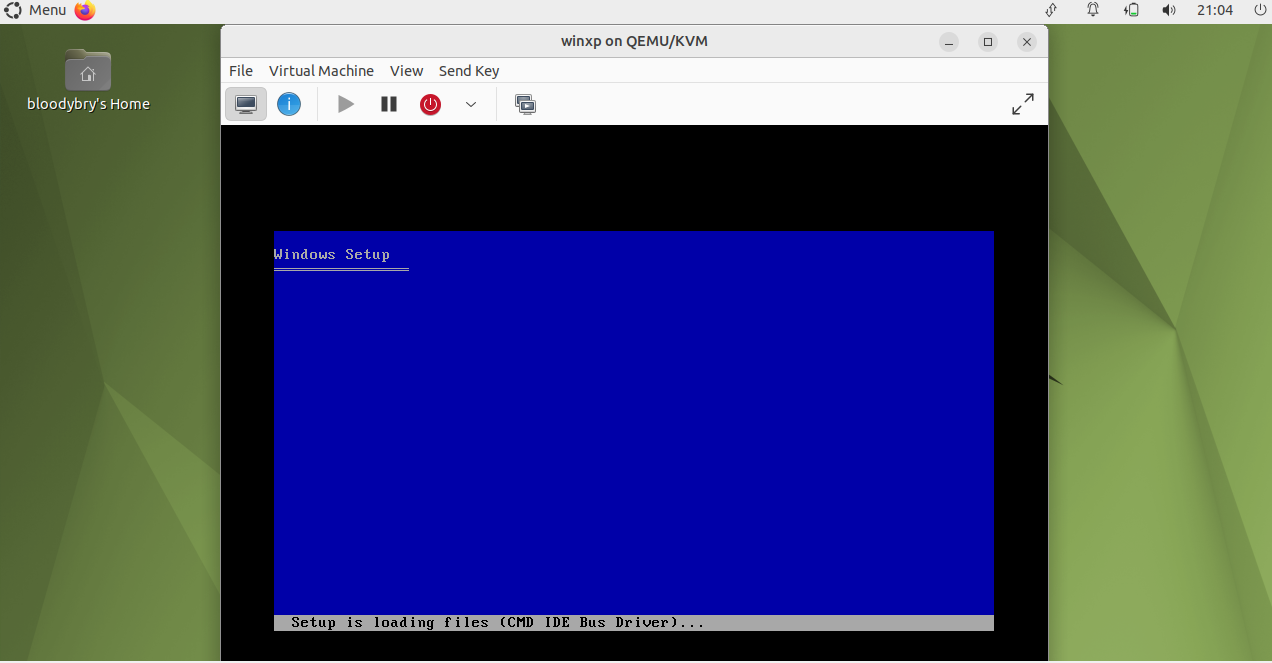
Shortly after, the virtual machine creation process will start.
Once finished, the virtual machine will boot with the operating system installation program displayed. From there, you can proceed with installing your preferred system.